
3D Puff Embroidery Digitizing & Custom Foam Files.
3D puff embroidery digitizing requires specialized techniques to cut the foam cleanly. Standard flat files are generally not suitable for 3D foam embroidery. We prepare custom 3D foam files designed with specialized capping and densities to help reduce common issues, improve foam coverage, and support smoother production runs on caps and heavy garments.
How We Digitize to Hide the Foam
If you run a standard flat embroidery file over EVA foam, the ends of the satin stitches remain open, leaving the raw foam exposed. 3D puff embroidery digitizing requires specialized "capping" stitches. We prepare the file to pinch and seal the foam at the extremities, helping it cut more cleanly. We also adjust stitch density compared to flat files, which helps better encompass the foam and supports a premium, raised finish.

The Industry Secret: Finishing 3D Puff
Customers often expect their 3D puff designs to instantly look like a retail baseball cap the second it comes off the machine. The reality of production is that finishing matters just as much as the file. After running a suitable 3D puff file, professional decorators use two specific tools: fine tweezers to pull away the excess foam, and a standard heat gun. A quick pass with a heat gun can shrink the remaining microscopic foam fibers, helping pull them back under the thread. This combination is commonly used to achieve a cleaner, retail-style finish.
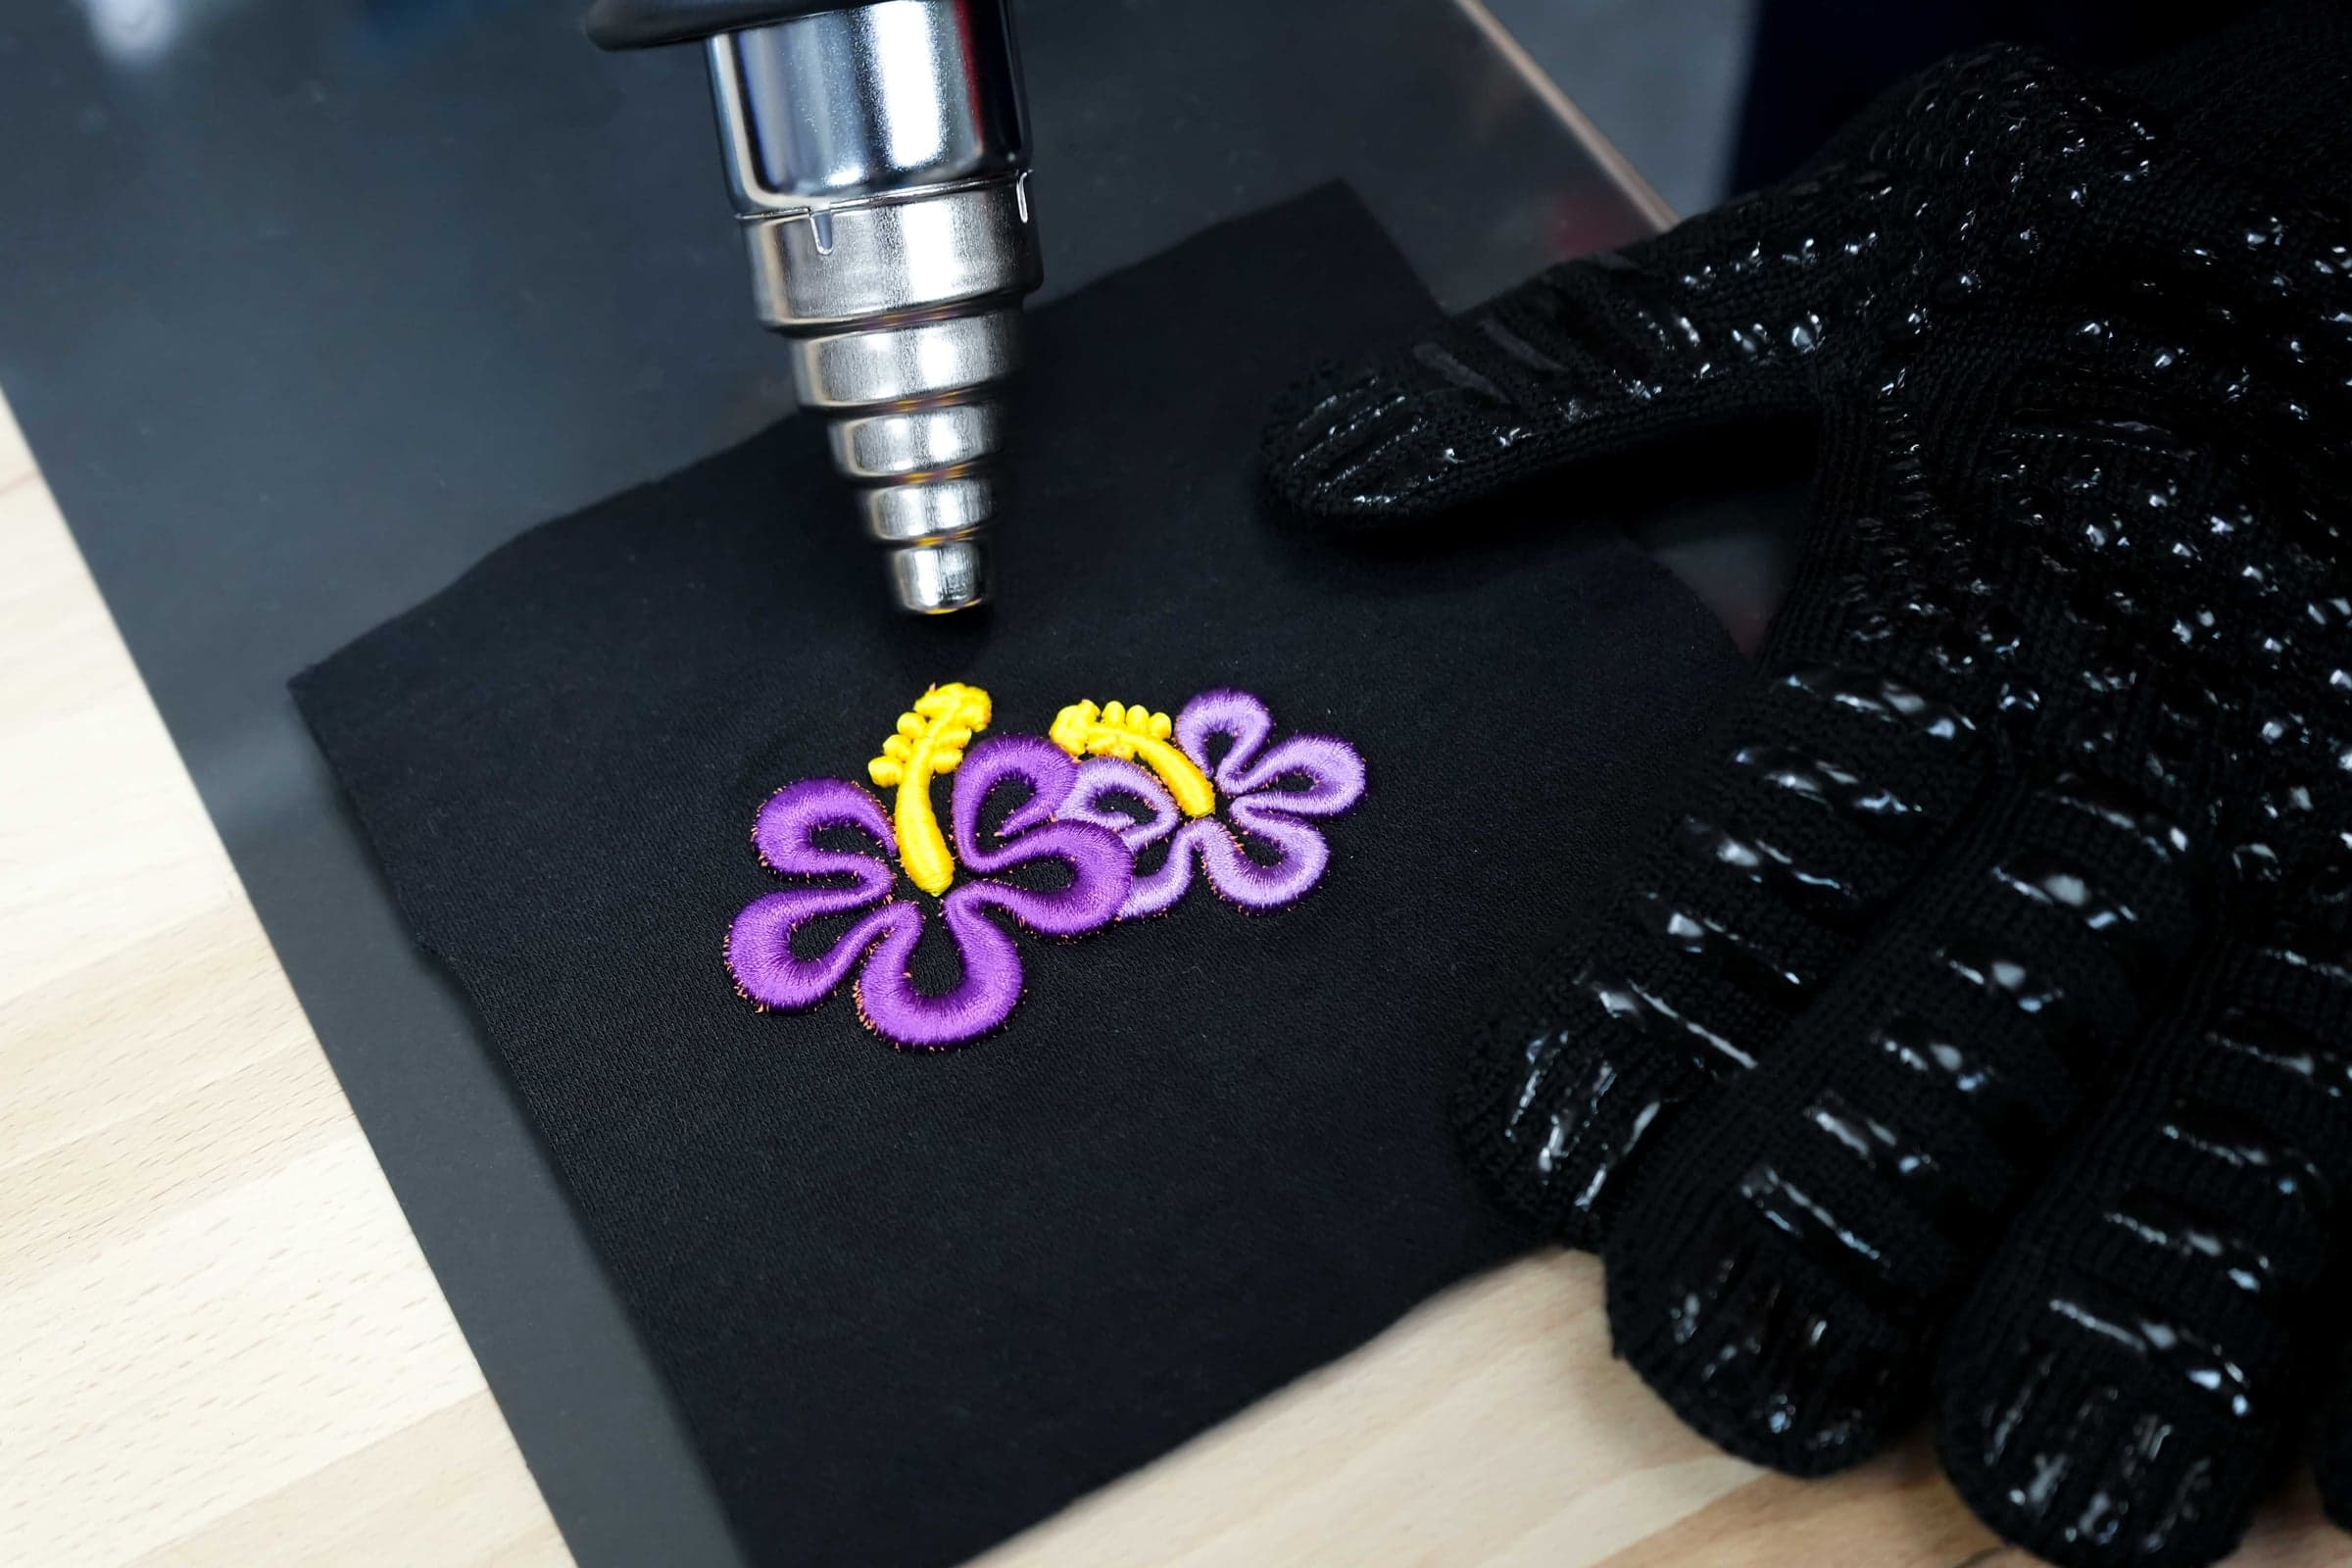
Before and After the Heat Pass
The same hibiscus 3D puff design straight off the machine, then again after a quick pass with the heat gun. Capping stitches hide most of the foam at the file stage; finishing closes the rest.
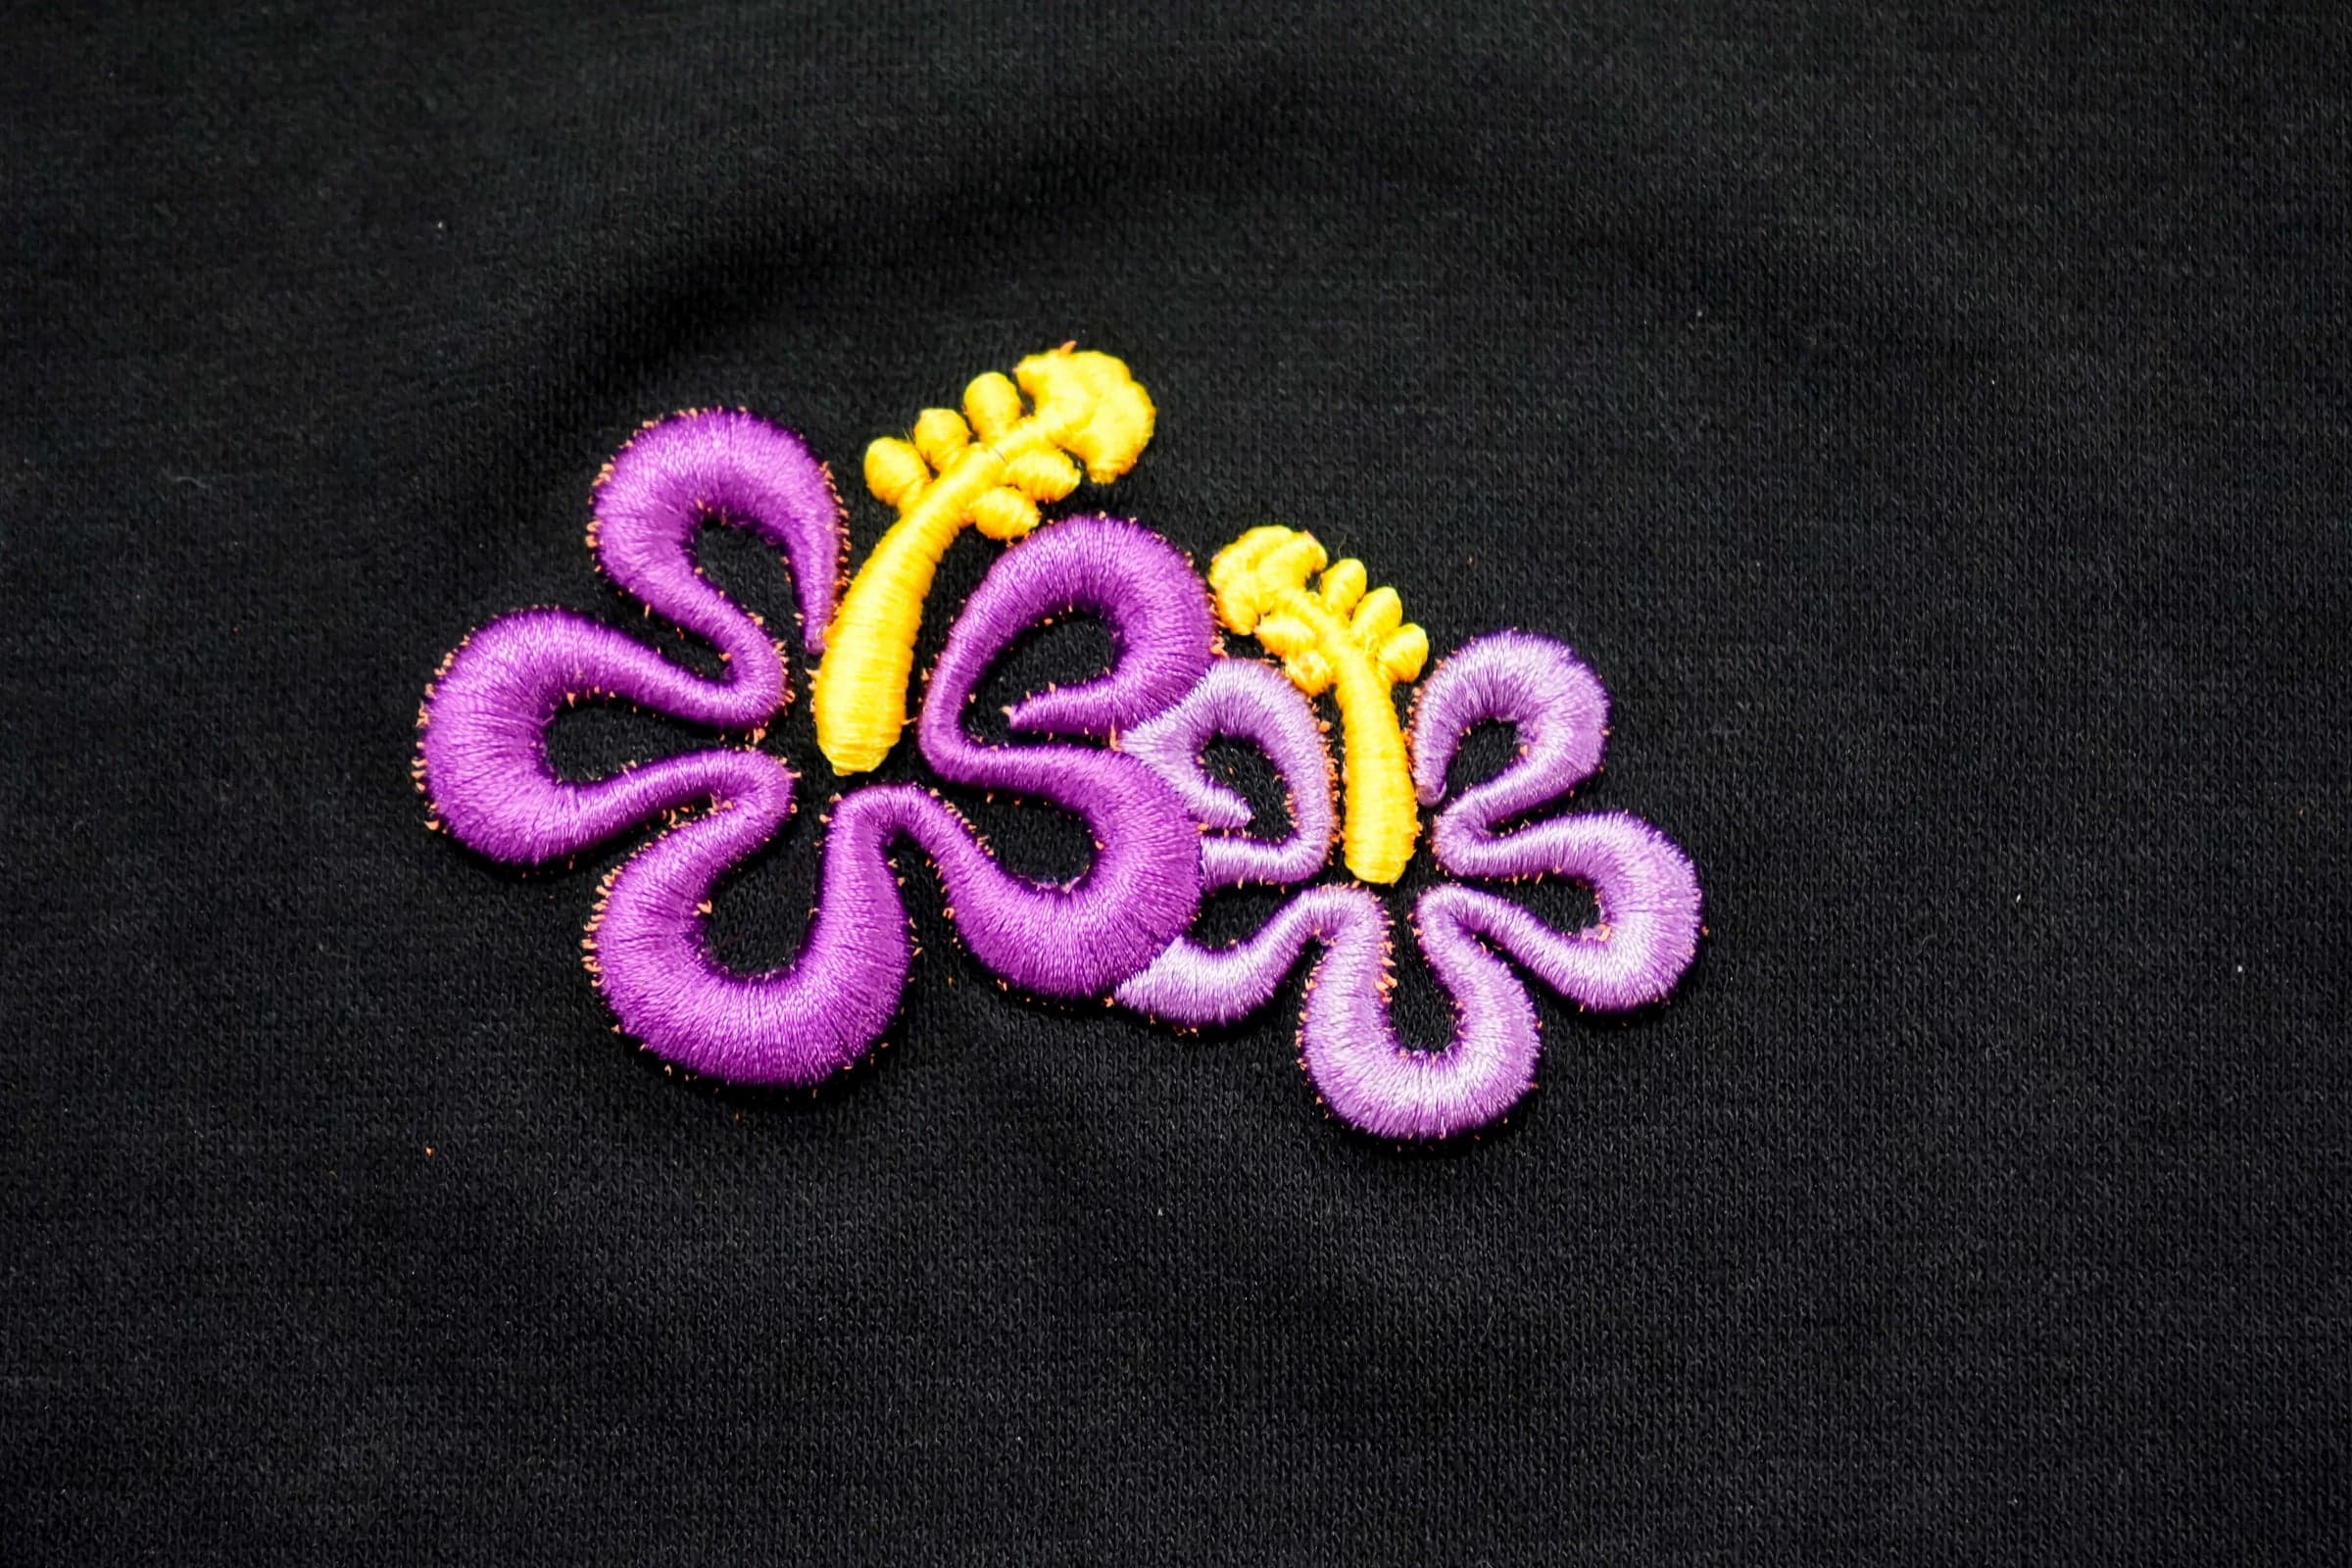
Before
Straight off the machine. Capping stitches have already pinched the satin columns, but you can still see microscopic foam fibres along the petal edges.
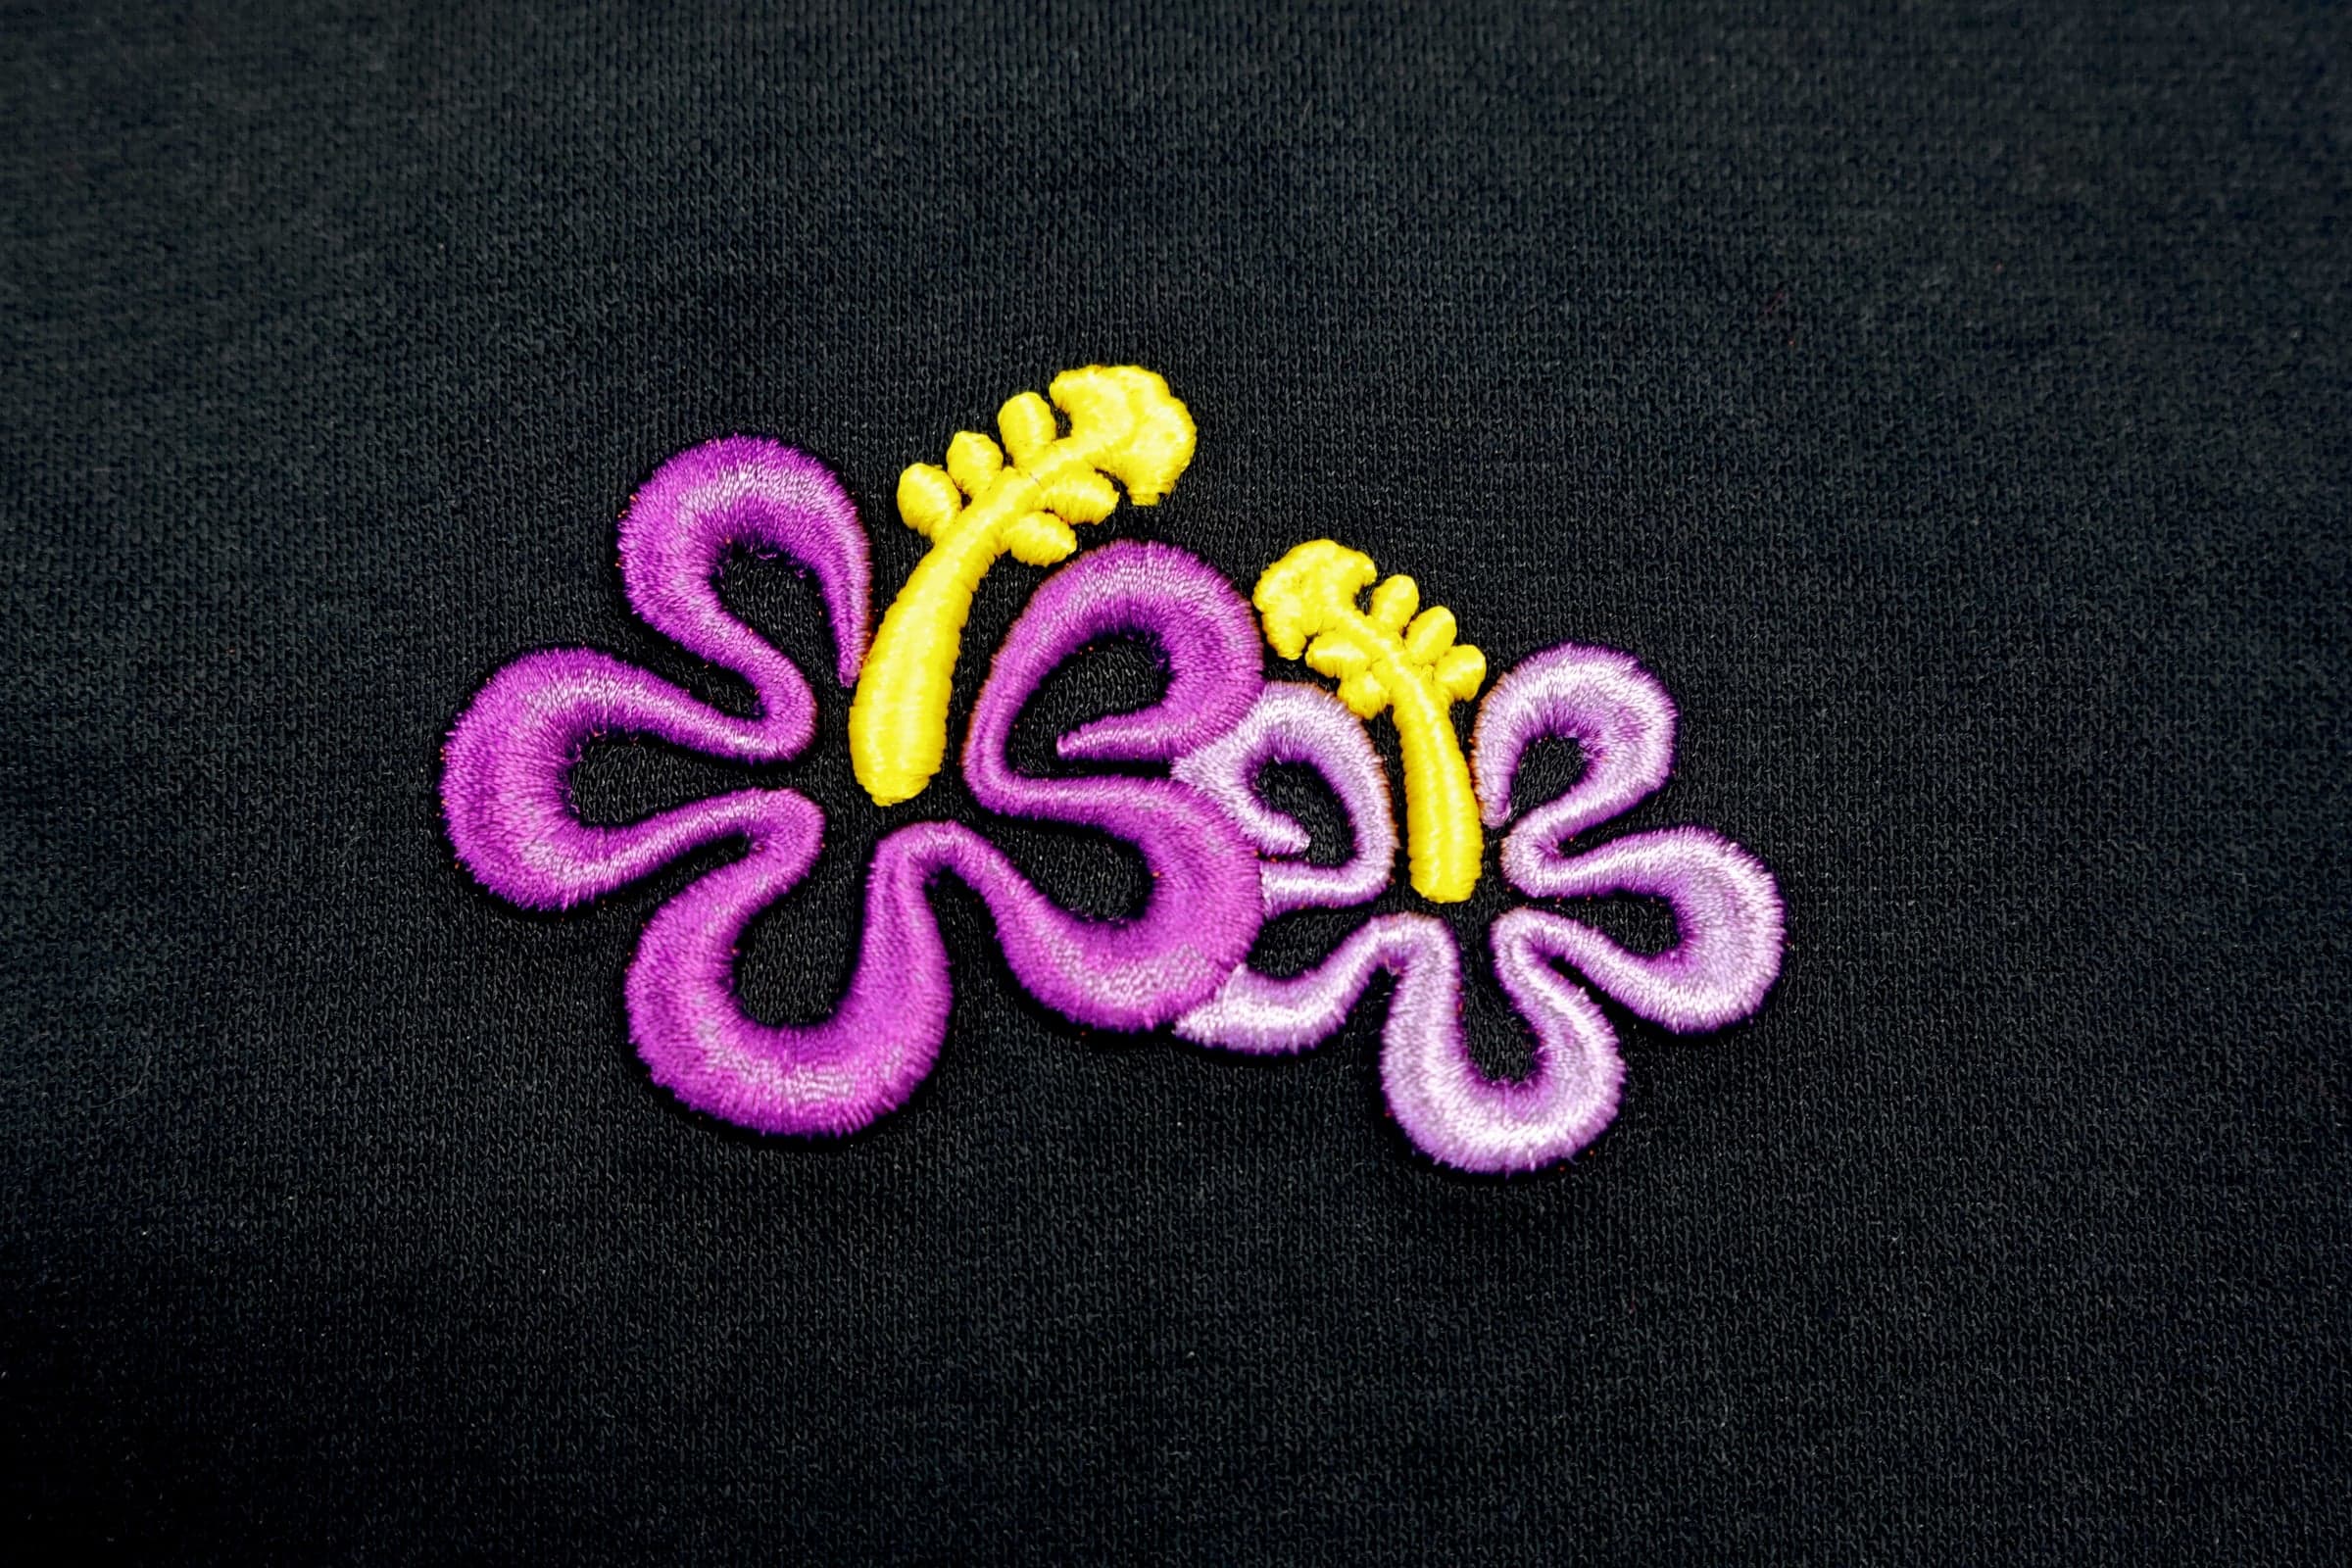
After
A short pass with the heat gun shrinks the remaining foam fibres back under the thread. Same file, same hoop — finishing is what closes the gap.
Setting Up Your 3D Puff Run
✓Do
- ✓DO use bold, blocky fonts: Think of your satin stitches like a chopstick, not a toothpick. A thick "chopstick" stitch (3mm to 10mm wide) punches a clean hole and helps wrap the foam effectively.
- ✓DO match your foam color: Always try to match the EVA foam color as closely as possible to your top thread to help camouflage any minor exposed edges.
✕Don't
- ✕DON'T use thin script fonts: A thin "toothpick" stitch simply pokes a hole in the foam without covering it, which can lead to thread breaks and exposed edges.
- ✕DON'T use standard flat files: A standard digitized file does not have the density or capping stitches required to process 3D foam successfully.
Watch The Process in Action
The Shared Responsibility of Production. A properly engineered file is only half the equation. Your shop floor setup dictates the final result.
The Reality of Production: Machine Setup
Even the best 3D puff digitizing requires a perfectly maintained machine to run smoothly. To achieve clean results, your machine must be regularly serviced, timings must be correct, and garments must be properly hooped with the correct backing. We also recommend these specific adjustments for foam:
- ✓Dial in your tensions: 3D puff requires more thread to travel over the height of the foam. Loosen both the top and bobbin thread tensions slightly, if required, to help reduce thread breaks and puckering.
- ✓Raise the presser foot: Adjust your presser foot height to accommodate the thickness of the foam (typically 2mm or 3mm) to reduce the chance of dragging or shifting registration.
- ✓Use sharp needles: A sharp needle (rather than a ballpoint) helps perforate the EVA foam more cleanly during the run.
Never Run 3D Puff Before? Download Our Tested Example Files.
We provide ready-to-run tested example files so you can set up and test your machine tensions, test your specific brand of foam, and practice the tweezer and heat-gun finishing technique before running production garments.
Browse Free Test DesignsYes. We typically sequence the file so the flat embroidery elements run first. We then insert a programmed machine stop, allowing your operator to lay down the EVA foam before the 3D puff elements begin stitching.
Ideal 3D designs feature bold, blocky elements with satin stitch widths between 3mm and 10mm. We use the “Chopstick vs. Toothpick” rule: thin script fonts act like toothpicks, getting stuck in the foam without covering it. Bold, blocky elements act like chopsticks, clearing a wide path and helping the thread wrap more effectively around the EVA foam.
We generally set up our 3D puff files for standard 2mm or 3mm EVA embroidery foam, which is commonly used in the industry for caps and heavy outerwear. Using foam thicker than 3mm may require specific file adjustments and slower machine speeds.
If you are new to 3D foam, we recommend starting with test files before running production jobs. These allow you to set up and adjust machine tensions, test your specific brand of EVA foam, and practice the finishing process using tweezers and a heat gun. This helps reduce the likelihood of issues when moving to client garments.
Even the best file requires proper setup.
1. Hardware: Raise the presser foot to hover over the foam (3.5mm–4.0mm for 3mm foam). Swap to a sharper needle (like an 80/12 Sharp). Loosen both the top and bobbin thread tensions slightly, if required, to help the thread lay gently over the foam.
2. Preparation: Hoop firmly with sturdy cutaway backing. Float a rectangle of matched-color EVA foam over the target area. Drop your machine speed to 600–800 RPM.
3. Finishing: After the run, gently tear away the foam block. Use a heat gun quickly over the design to shrink remaining micro-fibers under the thread.
Visible foam edges or thread breaks can be caused by a combination of factors, including insufficient stitch width, incorrect tension, unsuitable needle type, or foam that does not match the thread colour closely. Even with a properly prepared file, machine setup and material choice play a significant role in the final result. We recommend reviewing tension, needle condition, and foam compatibility before making adjustments to the file.
Ready to Run Clean 3D Puff?
Order Your 3D Puff DesignLet our team review whether your artwork is suitable for 3D foam production.
Questions first? Just ask in the chat — or call 0800 368 7414.