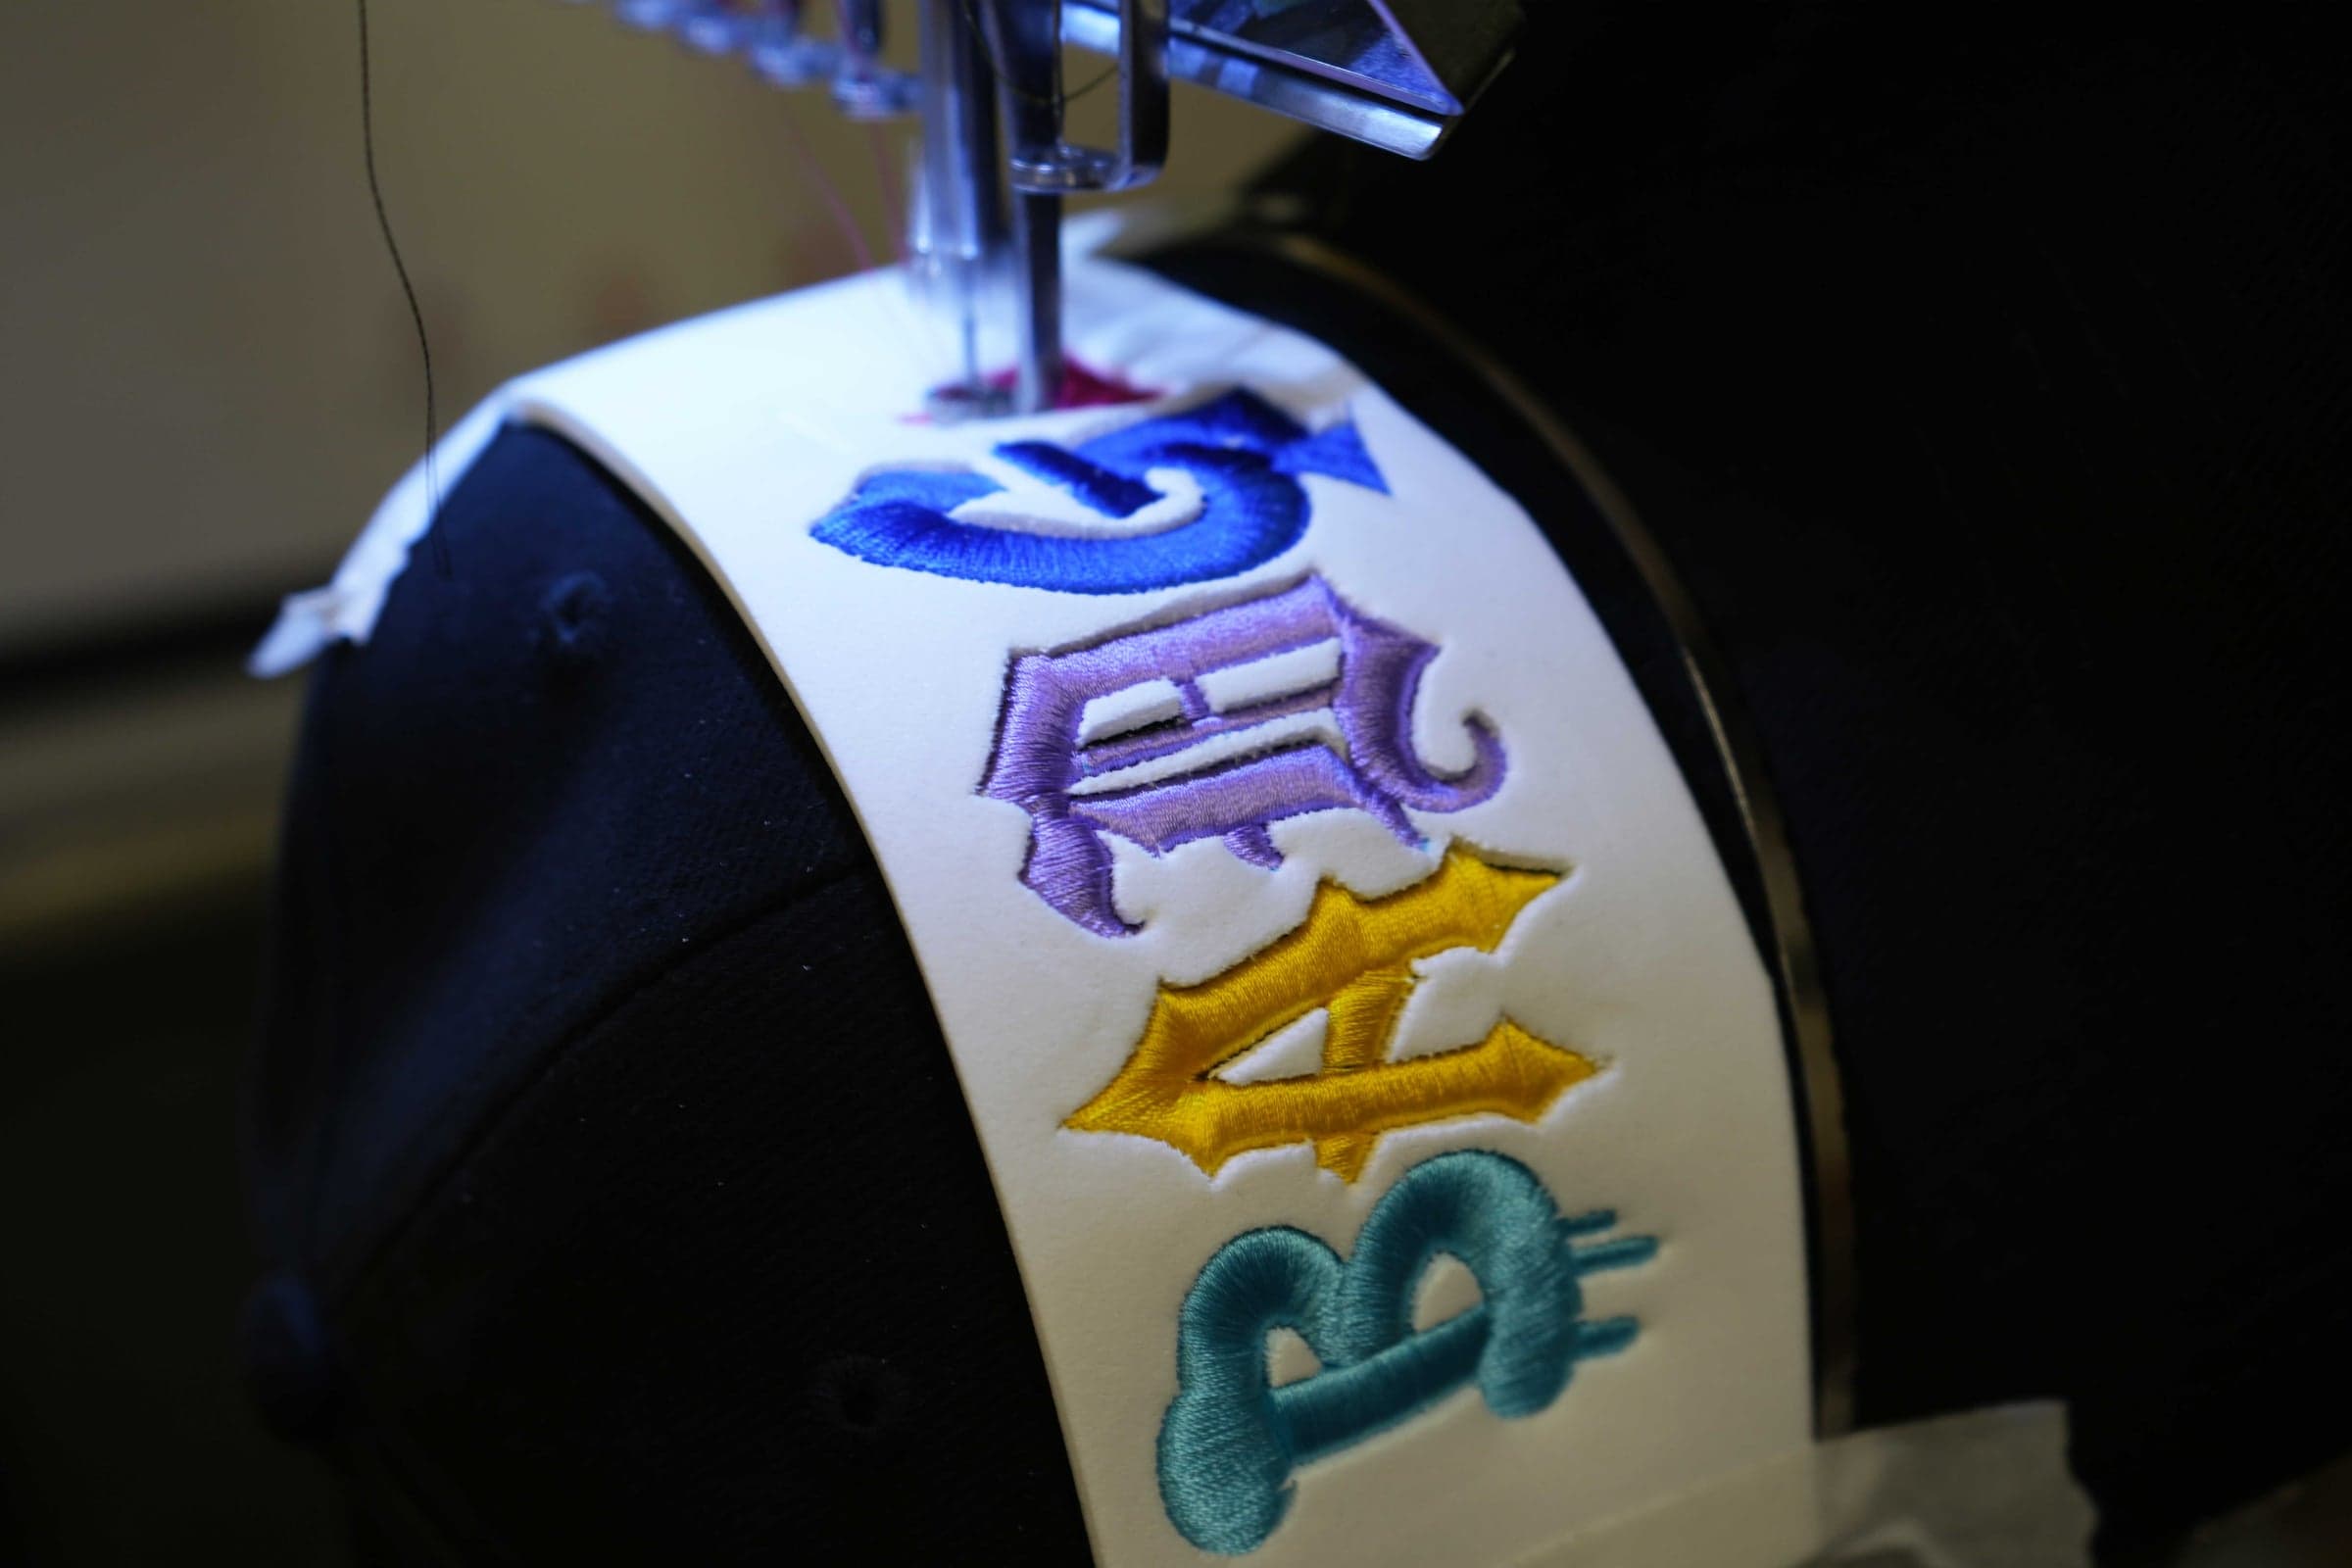
Cap Digitizing Tailored for Curved Surfaces.
Embroidering on a curved, moving frame requires specialized digitizing. Using standard flat files on a cap can lead to misaligned outlines, puckering, and thread breaks. We structure our cap files from the bottom-up and center-out, helping to manage fabric shift and support cleaner registration across structured and unstructured headwear.
Why Flat Left-Chest Designs Struggle on Caps
A design digitized for a flat polo shirt is typically sequenced to run from left to right. If you run that same file on a curved cap frame, the needle pushes the stiff fabric ahead of it. By the time the machine stitches the final outline, the fabric has shifted, which can cause the outlines to lose alignment with the fill stitches. To manage this "push and pull" effect on a cylinder, cap designs typically require adjusted pathing. If we have already digitized a left-chest file for you, you can request an edit in our portal to convert it for headwear. Simple logos can often be adjusted for a reduced edit charge, while complex designs will require a complete re-punch.
The Center-Out, Bottom-Up Approach
To help maintain alignment on a curved surface, the way the file is sequenced is critical. Our digitizers generally path cap designs to start at the bottom center (near the brim) and work outward and upward. This approach helps guide the fabric more evenly during stitching. We also review designs for unnecessary micro-details, which can become lost or distorted when crossing thick center seams.
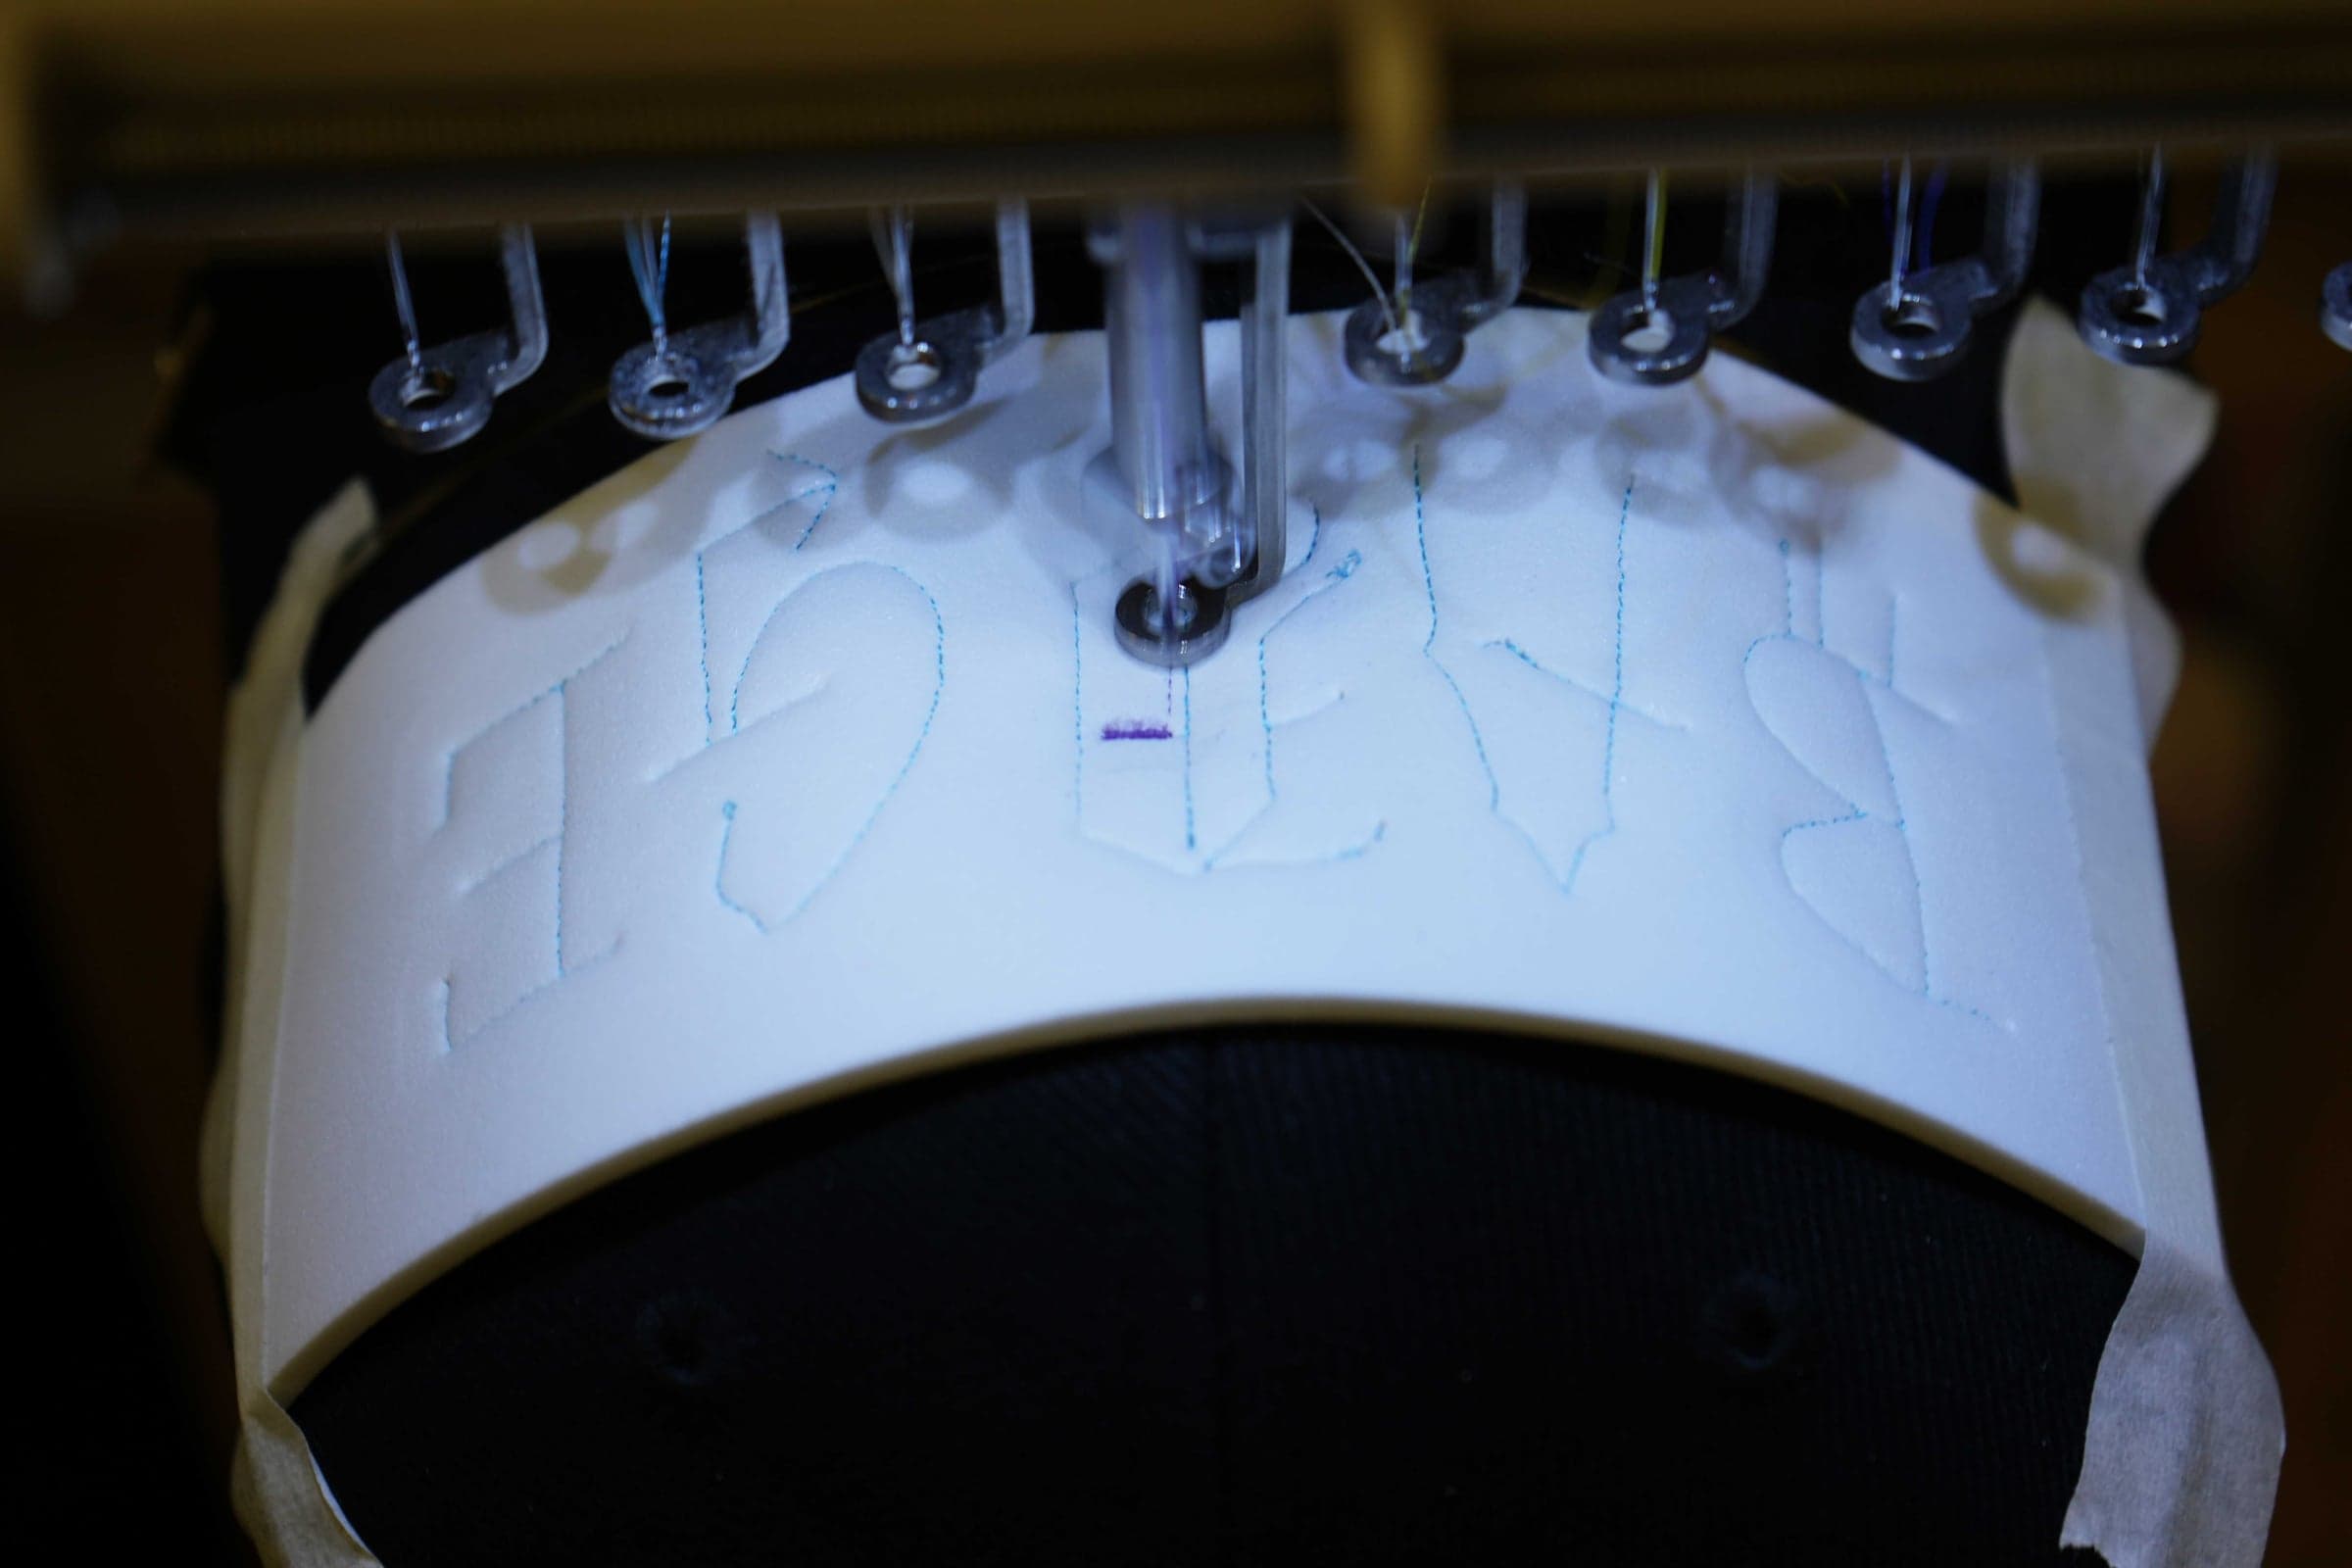
3D Puff on Curved Frames
Caps are the most popular canvas for 3D puff embroidery, but running EVA foam on a curved frame adds another layer of physical complexity. Combining the push-and-pull of a cylinder with the thickness of the foam requires highly specific pathing. We prepare our 3D cap files using center-out sequencing and specialized capping stitches to help the thread wrap the foam cleanly while navigating the curve of the headwear.
Setting Up Your Cap Project
✓Do
- ✓DO specify the cap type: Please inform us if you are running a structured 6-panel (with a stiff buckram backing) or an unstructured 5-panel cap, as they require different density and underlay adjustments.
- ✓DO measure your hoop before ordering: Most standard commercial cap frames handle designs up to 50mm tall. Some frames may accommodate up to 60mm, but please measure your specific hoop and confirm the maximum embroidery height. Ordering a design taller than your frame allows will result in an edit fee.
- ✓DO keep text bold: We recommend a minimum 4.5mm letter height on caps for readable results.
✕Don't
- ✕DON'T reuse flat files without review: Running a dense, left-to-right jacket back or left-chest file directly on a cap is a common cause of registration loss and needle breaks.
- ✕DON'T expect micro-detail to hold across seams: Extremely fine text or intricate borders can easily distort when the needle has to climb over the thick vertical center seam of a 6-panel cap.
The Shared Responsibility of Production. A well-sequenced cap file is only half the equation — your frame setup plays a major role in the final result.
The Reality of Production: Cap Frame Setup
Even a carefully sequenced cap file operates within the physical limits of your cap frame. To help reduce registration loss and needle breaks, we recommend these shop-floor adjustments:
- ✓Eliminate "Flagging": The cap must be hooped drum-tight against the backing. If there is a gap between the cap and the needle plate (flagging), the fabric may bounce, which can lead to bird's nests and jagged outlines.
- ✓Use proper cap backing: A common misconception is that the stiff buckram of a cap front is enough to support the stitches. It is not. The force of the needle will cause the fabric to bounce (flag) without proper backing, destroying the registration. Always use heavy-duty tear-away cap backing.
- ✓Upgrade your needles: The center seam of a 6-panel cap is incredibly thick. Swapping to a thicker, sharper needle (such as an 80/12 Titanium) can help punch through the seam with less deflection and reduce needle breaks.
This is commonly caused by fabric shift (flagging) during the run, or by using a file digitized for flat garments. Cap designs are typically sequenced from the center-out to help push the fabric smoothly. If your hooping is tight and it still shifts, the file likely needs to be re-pathed specifically for headwear.
We typically recommend simplifying highly detailed crests for cap fronts. Intricate details and tiny text can easily distort when the machine sews over the thick, uneven center seam. Flattening the design or thickening the elements typically yields much cleaner results.
The standard embroidery area for most commercial cap frames is approximately 120mm wide × 50mm tall. Some frames may accommodate up to 60mm in height, but hoop sizes vary between machines. Please measure the actual embroidery area of your specific cap hoop before ordering — not just the overall hoop size. If a design is ordered at a size that exceeds your frame, it will require an edit.
Yes. If our team originally digitized your flat left-chest design, you can raise an “Edit” request through your client portal to adapt it for a cap. If the logo is simple enough, we can often adjust the pathing for a standard edit charge, saving you money. If the logo is highly complex, it will require a complete re-digitization (redo) to run cleanly on a curve. Production Pro-Tip: To save turnaround time, leave a note on your edit request stating: “If a full redo is required for cap production, please proceed.” This eliminates back-and-forth email delays and helps get the correct file to your shop floor faster.
Yes. 3D Puff is highly requested for headwear, but it requires a completely different digitizing approach than standard flat embroidery. We prepare custom 3D foam files with specific densities designed to run on curved frames. If your client is looking for raised, retail-style lettering, please select the 3D Puff option when submitting your quote request.
Ready to Run Cleaner Caps?
Order Your Cap DigitizingLet our team review how your artwork can be structured for curved frames.
Questions first? Just ask in the chat — or call 0800 368 7414.